A complete step-by-step roadmap for Indian students planning to study abroad — from choosing the right country and university to visas, scholarships, and pre-departure preparation. This guide simplifies the entire process with clear timelines, practical tips, and expert insights based on decades of experience. Whether you're just starting your research or preparing to fly, this article helps you navigate every stage with confidence.
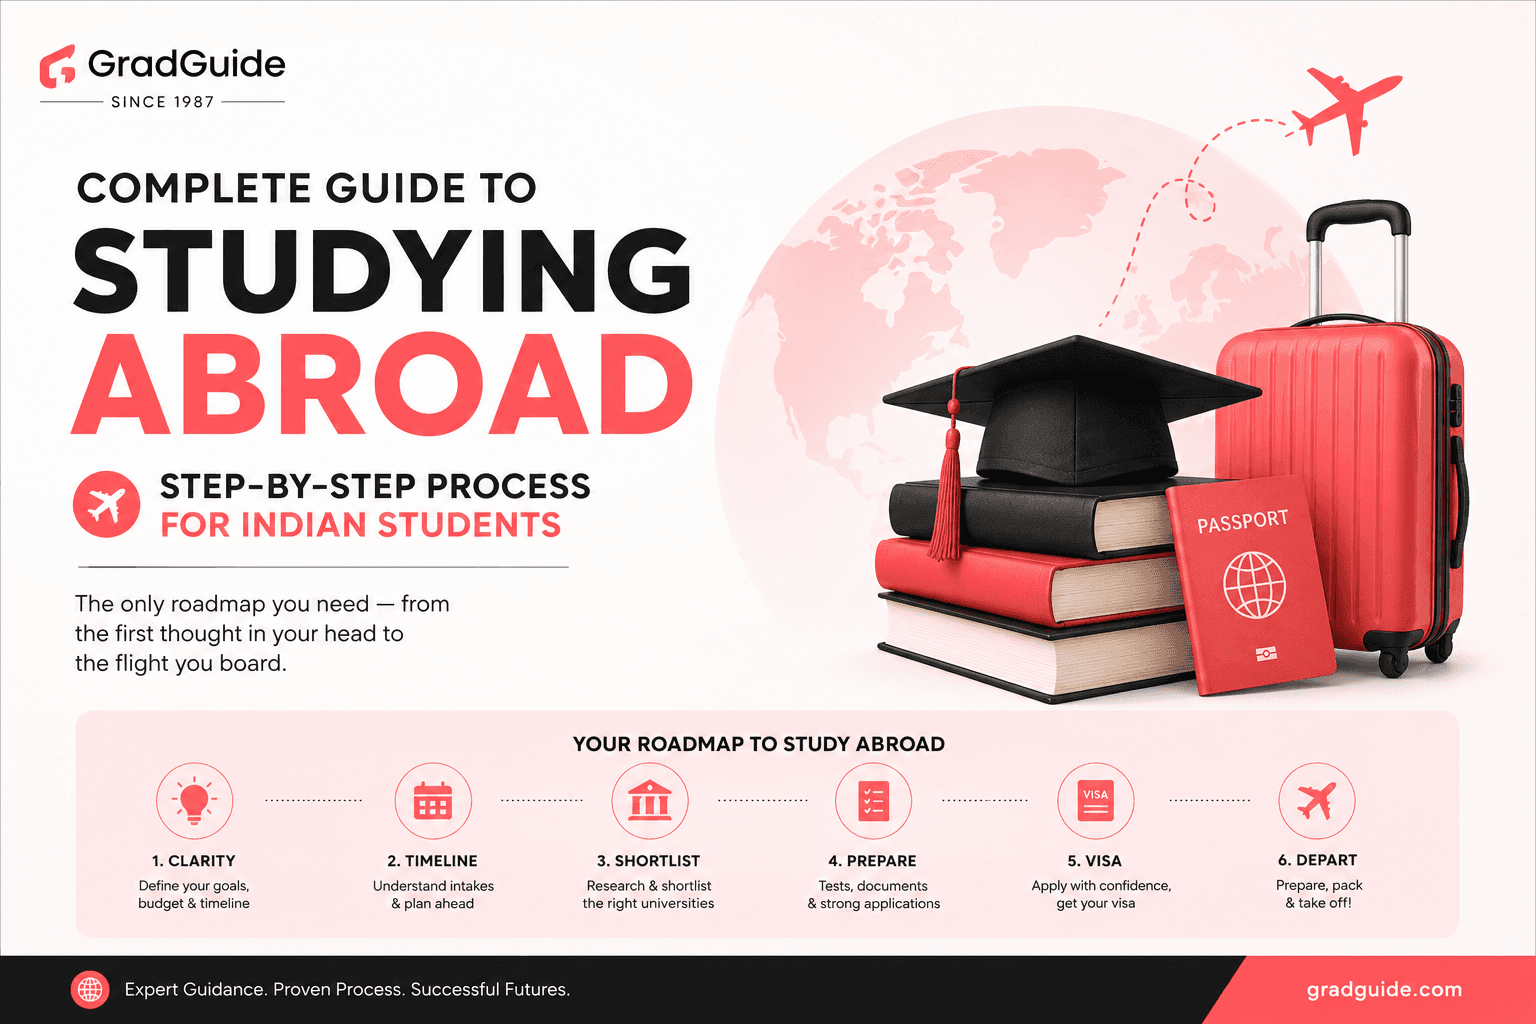
Complete Guide to Studying Abroad: Step-by-Step Process for Indian Students
The only roadmap you need — from the first thought in your head to the flight you board.
Every year, thousands of Indian families sit around a dining table and ask the same question: Where do we even begin?
The idea of studying abroad feels enormous. There are countries to compare, exams to give, documents to collect, universities to shortlist, visas to apply for, and loans to arrange. Most students don't struggle with motivation — they struggle with sequence. They don't know what to do first, second, or third.
That's what this guide fixes.
Since 1987, we at GradGuide have walked students through every one of these steps. We've seen what works, what derails applications at the last minute, and what mistakes cost families months — sometimes an entire intake cycle. This guide is built on that experience, updated for the realities of 2026, and written so that every step is clear, sequenced, and actionable.
Let's start from the very beginning.
Step 1: Start With Clarity, Not a Country Name
The most common mistake students make is opening Google and typing "best countries to study abroad" before they've answered the more important questions. The result is information overload, followed by a decision based on what their neighbour's son did.
Before you look at a single university, answer these four questions:
What do you want to study? Not just the subject — the specific field, the level (undergraduate or postgraduate), and whether you want a 1-year, 2-year, or longer programme.
Where do you want to work after graduation? Do you want to build a career in the destination country, return to India, or keep options open? The answer to this changes your entire country strategy.
What is your realistic budget? Include tuition, living costs, visa fees, travel, and an emergency buffer. Be honest. A family stretching to ₹80 lakh and a family comfortably spending ₹30 lakh are looking at different countries and different programmes.
What is your timeline? Are you targeting the next intake (Fall 2026 starting August/September, or Winter/Spring 2027 starting January)? Or are you planning 12–18 months ahead? Your timeline determines how much preparation time you have for exams, documents, and applications.
Only after you've answered these questions should you start researching destinations.
Step 2: Understand Intakes and Build Your Timeline
International universities operate on a different academic calendar from India. Most offer two primary intakes each year, and understanding these is essential before you plan anything else.
Fall Intake (August/September): This is the primary intake at most universities globally — in the US, Canada, UK, Australia, Ireland, and New Zealand. It offers the widest range of programmes, the most scholarship opportunities, and the best alignment with internship and job cycles. For Fall 2026, most application deadlines fall between November 2025 and March 2026.
Winter/Spring Intake (January/February): A secondary intake, strongest in Canada and Australia. Fewer programmes are available, but competition is lower. Useful if you missed Fall deadlines or need more preparation time.
Summer Intake (May/June): Less common for full degree programmes. Mostly relevant for diploma courses and pathway programmes, particularly in Canada and Australia.
A realistic preparation timeline for most students looks like this:
Months Before Intake | Key Actions |
18–24 months | Research, self-assessment, country selection |
15–18 months | Begin standardised test prep (IELTS/TOEFL, GRE/GMAT) |
12–15 months | University shortlisting, document preparation begins |
10–12 months | Give tests, draft SOP and LOR requests |
8–10 months | Submit university applications |
5–8 months | Receive offer letters, accept admission, begin visa prep |
3–5 months | Apply for student visa |
1–2 months | Pre-departure: accommodation, insurance, bank account |
The students who run into trouble are almost always the ones who started this process 4–5 months before their intake. There is no shortcut to the visa queue, and a rushed application is a weak one.
Step 3: Research and Shortlist Your Universities
Once you have clarity on your field, level, country, and timeline, the university shortlisting process becomes far more focused.
Build a shortlist of 8–10 universities across three tiers:
Ambitious (2–3 universities): Reaches. Strong brand, competitive entry requirements. Apply because you should, not because you're counting on it.
Target (4–5 universities): Well-matched to your academic profile. These should form the core of your strategy.
Safe (2–3 universities): Good programmes where your profile is comfortably above the minimum requirements.
What to evaluate for each university:
Academic fit: Does the programme curriculum match what you actually want to study? Look beyond rankings — a university ranked 150th with a strong industry connection in your specific field may serve you better than a top-50 university where your department is average.
Employment outcomes: What percentage of graduates in your programme are employed within 6 months? What are the average starting salaries? Many universities publish this data; treat it as more important than overall rankings.
Post-study work alignment: Does the university's location give you access to the job market relevant to your field? A data science degree from a university in a city with a strong tech ecosystem matters more than the same degree from an isolated campus.
Cost of attendance: Factor in both tuition and living costs. Average annual living costs in 2026 range from approximately ₹8–12 lakh in Canada and Ireland to ₹14–20 lakh in cities like London, Sydney, and Boston.
Scholarship availability: Most students apply for scholarships as an afterthought. The students who receive them researched scholarship availability before choosing their shortlist. Check what merit scholarships each university offers for international students at the time of application.
Step 4: Prepare for and Clear Your Standardised Tests
This is where most students spend the most time — and where they also make the most avoidable mistakes.
There are two distinct categories of exams you need to understand:
English Proficiency Tests
These are mandatory for non-native English speakers applying to universities in English-speaking countries. The main options:
IELTS Academic: The most universally accepted test globally. Accepted in the UK, Australia, Canada, New Zealand, Ireland, and most US universities. Scored on a 0–9 band scale. Most universities require a minimum of 6.0–6.5, with competitive programmes asking for 7.0 or higher. IELTS exam fees in India are currently ₹19,000. Scores are valid for two years.
TOEFL iBT: The preferred test for US universities, though increasingly accepted globally. Scored 0–120. Most universities require 80–100, with top institutions like Harvard requiring a minimum of 80 for the internet-based test. Scores are valid for two years.
PTE Academic: Increasingly accepted, particularly in Australia and the UK. Fully computer-based, with faster results (typically within 48 hours). Scored 10–90.
Duolingo English Test: Accepted by a growing number of US and Canadian universities as a more affordable, accessible option. Not yet universally accepted; always check the specific university.
Most Indian students opt for IELTS as the default. If your target universities are primarily in the US, consider TOEFL. If you have a strong CBSE or ICSE background with an English-medium education, some universities offer MOI (Medium of Instruction) waivers — always check individual university policies before registering for a test.
Standardised Academic Tests
These vary by level and destination:
GRE (Graduate Record Examination): Required by many US and Canadian postgraduate programmes in STEM, humanities, and social sciences. Scored 260–340 for Verbal and Quantitative sections combined. Many universities made GRE optional during the pandemic and have retained that policy — always verify the specific programme requirement.
GMAT (Graduate Management Admission Test): Preferred by business schools globally for MBA and business-related programmes. Scored 200–800 on the main scale, with most competitive programmes looking for 650+.
SAT/ACT: Required for undergraduate admissions at most US universities. SAT scored 400–1600; ACT scored 1–36.
A note on timing: Give your English proficiency test before you begin drafting applications. A lower-than-expected score can require a retake, and re-sit dates fill up quickly. Give your standardised academic test at least 3–4 months before your first application deadline to leave room for a retest if needed.
Step 5: Build Your Application Documents
Your application is not just a form. It is a curated argument for why you belong in that programme. The documents that make up that argument are:
Academic Transcripts
Official transcripts from every institution you have attended. For Indian students, this typically means Class 10 mark sheets, Class 12 mark sheets, and undergraduate transcripts (all semesters). These need to be attested or verified as per the destination country's requirements. Germany requires an APS (Akademische Prüfstelle) certification — an additional verification step mandatory for Indian applicants to German universities.
Statement of Purpose (SOP)
The SOP is the most important document in your application and the one most students get wrong. A weak SOP is generic, passive, and focused entirely on listing achievements. A strong SOP answers three questions with specificity and coherence:
Why this field and this programme specifically?
What experiences — academic, professional, personal — have built your preparation for it?
What do you intend to do with this degree, and why does this particular university help you get there?
For a visa SOP (which is different from your university SOP), the visa officer needs one additional answer: what are your plans after graduation, and why will you return to India or transition via a legitimate work visa? Visa officers are trained to assess immigrant intent. Your SOP needs to address this question directly and credibly.
Letters of Recommendation (LORs)
Most universities require 2–3 LORs, typically from academic supervisors or professional managers. The LOR writer must know your work well enough to speak to specific competencies — not just confirm that you attended their class. Ask early. Give your recommenders a clear brief: what the programme is, why you're applying, and what qualities you'd like them to highlight. Give them at least 6–8 weeks.
Resume or CV
An academic CV for most graduate programmes. Highlight academic achievements, research experience, publications (if any), work experience relevant to your field, and positions of responsibility. For international applications, keep formatting clean and consistent — no photographs, no date of birth on international-format CVs.
Portfolio (where applicable)
Required for architecture, design, fine arts, and some engineering programmes. The portfolio should demonstrate the range and quality of your work, curated specifically for the programme you're applying to.
Step 6: Apply to Universities
With tests cleared and documents ready, you submit your applications.
Application portals vary by country and institution:
US universities typically use their own portals, with some using Common App for undergraduate admissions
UK universities use UCAS for undergraduate programmes; postgraduate applications go directly to the university
Canadian universities have their own institutional portals; some use the Ontario Universities' Application Centre (OUAC) for Ontario institutions
Australian and New Zealand universities have direct institutional portals
Irish universities use CAO (undergraduate) or direct institutional portals for postgraduate
What to submit:
Completed application form
Academic transcripts
Statement of Purpose
Letters of Recommendation (sent directly by recommenders in most cases)
CV/Resume
Test scores (IELTS/TOEFL/GRE/GMAT — sent electronically from the testing body)
Application fee (typically USD 50–100 per university for US schools; varies elsewhere)
Track your applications carefully. Maintain a spreadsheet with each university, programme, portal login, deadline, documents submitted, and current status. Missing a supplementary document request by a few days can result in an application being withdrawn from consideration.
After submission, you will receive one of three responses: an offer letter (conditional or unconditional), a rejection, or a waitlist notification. Conditional offers are common — they typically require you to maintain a minimum final grade or submit a missing document before the offer converts to unconditional.
Step 7: Plan Your Finances
Before you accept an offer, the numbers need to make sense. This is the step most families rush through, and the one that causes the most stress later.
Total cost of study abroad = Tuition fees + Living costs + Visa and application fees + Flights + Insurance + Miscellaneous
Here are rough annual cost benchmarks for 2026 (tuition + living combined):
Country | Estimated Annual Cost (INR) |
USA | ₹45–80 lakh |
UK (1-year Master's) | ₹30–55 lakh total |
Canada | ₹25–45 lakh |
Australia | ₹30–50 lakh |
Ireland | ₹25–40 lakh |
Germany (public universities) | ₹8–15 lakh (mostly living costs) |
New Zealand | ₹25–40 lakh |
Scholarships: Research and apply for scholarships before accepting your offer. Most institutional merit scholarships are awarded at the time of admission, but external scholarships require separate applications. Country-specific scholarship programmes — such as the Chevening for the UK, the Australia Awards, the Government of Ireland International Education Scholarship, and the New Zealand Excellence Awards — have their own timelines and requirements. Many go unclaimed because students don't apply early enough.
Education Loans: For families funding studies through loans, here is the current landscape from major Indian banks in 2026:
SBI Global Ed-Vantage Scheme: Loans from ₹7.5 lakh up to ₹3 crore for 28 countries, with interest rates starting at approximately 8.90% for secured loans. No collateral required up to ₹7.5 lakh. Repayment tenure up to 15 years.
Axis Bank: Unsecured education loans up to ₹75 lakh; no upper limit for secured loans. Interest rates between 7.45% and 13.00% per annum.
HDFC Credila, Avanse, and other NBFCs: Often more flexible for top-ranked universities, with higher sanctioned amounts and faster processing, though at higher interest rates.
Interest paid on education loans is deductible under Section 80E of the Income Tax Act for 8 years from the start of repayment — one of the few fully uncapped tax deductions available to Indian taxpayers. Additionally, the Union Budget 2026 reduced TCS on overseas education remittances under LRS from 5% to 2% for amounts above ₹10 lakh, easing the upfront financial burden for self-funded families.
No collateral is required below ₹7.5 lakh from public sector banks. Above this threshold, you will typically need immovable property, a fixed deposit, or an LIC policy as collateral.
Step 8: Apply for Your Student Visa
Your student visa is the single most consequential administrative step in this process. A rejected visa application doesn't just delay your admission — it can affect future applications and, in some cases, raise flags for subsequent visa interviews.
Here is what most visas require across major destinations:
Core documents for almost every student visa:
Valid Indian passport (with at least 18 months of validity remaining)
Unconditional offer letter from a recognised institution
Proof of English language proficiency (IELTS/TOEFL)
Financial proof: recent bank statements (within the last 3 months), Fixed Deposit certificates, education loan approval letter, or sponsorship letter with supporting financial documents
Statement of Purpose (visa-specific)
Passport-size photographs meeting country-specific specifications
Biometrics appointment confirmation (mandatory for most destinations)
Medical examination or TB test results (required for Canada, Australia, and some others)
Police clearance certificate (required for some destinations)
Country-specific notes for 2026:
Australia: Australia replaced the older Genuine Temporary Entrant (GTE) requirement with a Genuine Student (GS) requirement for applications lodged from March 2024 onwards. Documentation scrutiny for South Asian applicants has increased in early 2026 — your academic intent, course relevance, and financial credibility all need to be clearly evidenced.
Canada: Apply via the IRCC (Immigration, Refugees and Citizenship Canada) portal. In late 2025 and early 2026, some Graduate Programme applicants became eligible to apply without a Provincial Attestation Letter (PAL) — check whether your specific programme falls under the updated rules. Include a cover letter explaining the source of your funds alongside bank statements.
UK: You will need a Confirmation of Acceptance for Studies (CAS) number from your university before applying. The CAS is issued only after you've formally accepted your offer and paid the deposit.
USA: After receiving your I-20 form from the university, pay the SEVIS fee (currently USD 350), then apply for the F-1 student visa at the US Embassy or Consulate. Book your visa interview appointment early — slots in major Indian cities fill up months in advance.
Practical tip: Create a single visa folder — both digital (clearly labelled PDFs: offer.pdf, funds.pdf, passport.pdf, IELTS.pdf) and physical. Consular officers review hundreds of applications; a clean, organised file reduces missing document requests and demonstrates the careful preparation that supports your case as a genuine student.
Step 9: Sort Pre-Departure Essentials
Your visa is approved. You've accepted your offer. Now comes the pre-departure phase — the checklist that determines whether you arrive prepared or scrambling.
Accommodation: Arrange this before you leave India. Most universities offer on-campus accommodation for first-year international students, but it fills up quickly — apply as soon as your offer is accepted. Off-campus housing is usually cheaper but requires a guarantor, which is difficult to arrange from India before arrival. Services like student housing platforms can help, but use only verified sources.
Health Insurance: Mandatory in most countries and not optional. In the UK, the Immigration Health Surcharge (IHS) is paid at the time of visa application. In Australia, Overseas Student Health Cover (OSHC) must be purchased before your visa is granted. In Canada, provincial health coverage has a waiting period, so supplementary private insurance is essential for the first few months. In the US, most universities offer a health plan — check whether you can opt out and purchase a cheaper alternative.
Bank Account: Open an NRE/NRO account in India before departure to manage remittances. In the destination country, many banks now offer international student accounts with low fees — check whether your university has a partner bank that offers a faster, simpler onboarding process.
Foreign Exchange and Remittances: Use official banking channels (wire transfer, forex cards issued by banks) rather than informal exchange. The TCS (Tax Collected at Source) on overseas remittances for education above ₹10 lakh is now 2% as of Budget 2026, down from 5% — make sure your bank applies the correct rate.
Documents to carry in physical originals:
Passport
Visa
University offer letter
Academic transcripts and mark sheets (originals and attested copies)
Proof of funds
Insurance policy documents
Accommodation confirmation
Emergency contact list
Mental readiness: This is not a checklist item but it matters as much as everything above. Students who research the culture, weather, and day-to-day realities of their destination city adjust faster and perform better academically in the critical first semester. Talk to alumni from your university — most are genuinely happy to share their experience.
The One Thing That Ties All of This Together
Every step in this process is plannable. Nothing here is beyond the reach of a well-prepared student with a clear goal and a realistic timeline.
The students who struggle are almost always the ones who started late, jumped between steps without completing the previous one, or made country choices based on prestige rather than fit.
The students who succeed are the ones who treated this as a system: step one enables step two, step two enables step three, and so on. They gave their English test early. They built a shortlist based on outcomes, not rankings. They applied for scholarships before accepting offers. They submitted clean, organised visa documentation. They arrived with housing, insurance, and a bank account sorted.
That is a plannable thing. It doesn't require luck or connections. It requires preparation, clarity, and the right guidance at each stage.
At GradGuide, we have been doing exactly this since 1987. If you're at any point in this journey — whether you're still figuring out your country or sitting with an offer letter wondering what to do next — we're here to help you take the next step with confidence.
All data referenced in this article is drawn from official government sources, IRCC, the UK Home Office, Australian Department of Home Affairs, the Income Tax Department of India, and major Indian banking institutions. Test score information is sourced from official testing body publications (IELTS, ETS, GMAC). Costs are indicative averages for 2026 and should be verified directly with institutions and banks before making financial decisions.
Talk to a GradGuide expert about your study-abroad plans.